As a critical part of modern vehicle lighting systems, LED headlight failure not only compromises night‑driving safety but can also cause failed inspections. When an LED light suddenly goes out, blindly replacing the entire assembly is costly and may mask the real root cause. This article provides a systematic troubleshooting and repair guide – helping owners achieve low‑cost repairs without compromising safety.
- Core Troubleshooting Procedure
Troubleshooting should follow the principle of from simple to complex, from external to internal:
Step 1 – Basic checks
Confirm the vehicle’s power system is working (test the horn or turn signals)
Check fuses – are they tripped or blown?
Check other devices on the same circuit
Step 2 – In‑depth checks (power off)
Use a multimeter to measure the power adapter output voltage (typically 12V or 24V – ±5% tolerance)
Measure circuit resistance – normal value should be <0.5Ω
Test individual LED chip voltage (typically 3.2‑3.6V per chip)
These data‑driven checks help locate the fault quickly.
- Power Supply and Connection System Repair
Power system faults are the most common cause of LED failure – accounting for about 40% of cases.
Inspection points:
Connector contact pressure – should exceed 15N
Insulation resistance – should exceed 5MΩ – check for damage
Clean metal contacts – removing oxidation reduces contact resistance
Repair methods:
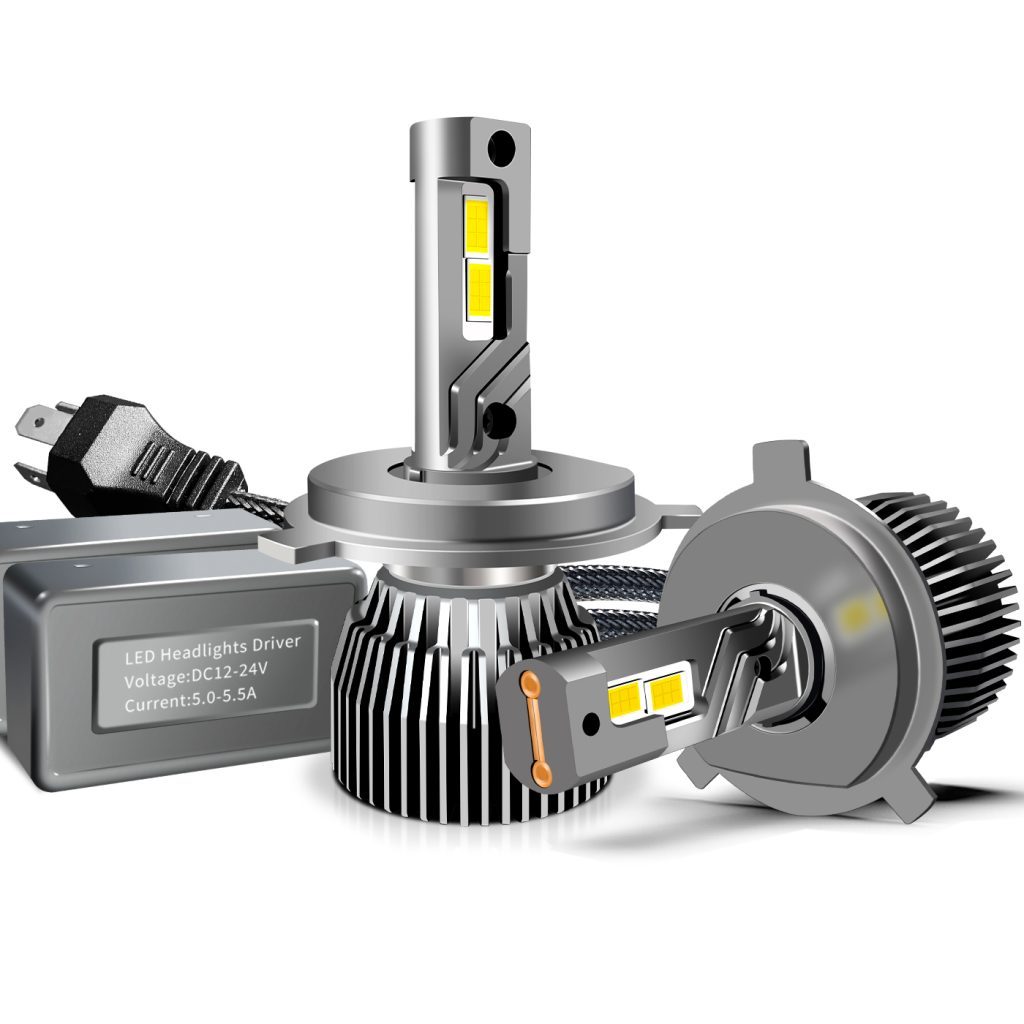
Loose connections – re‑solder (solder joints should be full and smooth) or replace with high‑temperature wire (≥125°C rating)
Faulty power adapter – test with a replacement of the same model and power (±10% tolerance)
Important: Always disconnect vehicle power before any repair work – avoid short circuits.
- Driver and Control Unit Repair
The LED driver is the core control component – accounting for about 30% of failures. Driver faults often appear as flickering (>5Hz) or uneven brightness (>20% variation).
Driver replacement precautions:
Must match the original model (input voltage, output current, and power parameters must be identical)
Ensure the heatsink sits flush against the original position (contact area should be ≥90%)
Control chip damage: detected via oscilloscope pulse signals – replace with a matching chip (pay attention to pin assignments and package type). Use anti‑static tools during repair to prevent electrostatic damage.
- LED Chip and Panel Repair
Chip failure is the third most common cause – accounting for about 25% of cases.
Inspection:
Visual check – blackening, scorching, or cracks
Multimeter diode test – forward voltage should read 3.2‑3.6V
Repair options:
Single chip damage: bridge with a short wire (0.5mm diameter) or replace with a matching chip (colour temperature tolerance ≤500K)
Over 30% chips damaged: replace the entire LED panel (match power, size, and connector type)
Soldering requirements: use a temperature‑controlled iron (350±20°C) – avoid overheating the circuit board.
- Cooling System Optimisation
Poor cooling is a major contributor to premature LED failure – accounting for about 5% of cases.
Inspection and maintenance:
Clean dust from heatsink fins – debris shouldn’t exceed 0.5mm thickness
Ensure the cooling fan is running – speed should be ≥2000rpm
Upgrade options:
Add auxiliary heatsinks – increase cooling area by ≥30%
Replace thermal paste with higher‑conductivity paste (≥3.0W/m·K)
Critical temperature control: LED operating temperature should stay below 85°C – exceeding this accelerates lumen depreciation (every 10°C rise halves lifespan).
- Summary
LED headlight repair requires a systematic approach – from power connections to drivers, chips, and cooling – each can be the weak point.
With the diagnostic and repair techniques outlined above, owners can resolve about 70% of common LED faults – significantly reducing repair costs.
Important notes:
Always disconnect power when working on high‑voltage circuits
Complex electronic component replacements should be done by professionals
Regular cleaning and wiring checks extend LED life – improving safety and reliability