When upgrading a vehicle’s lighting system, LED headlights have become a top choice for many drivers – thanks to their high brightness, low energy consumption, and long service life. This guide covers technical specifications, buying tips, installation advice, and energy impact, helping owners achieve a balance between improved visibility and better energy management.
- Core specification comparison
LEDs and halogens differ significantly across key metrics:
Metric Halogen LED Improvement
Brightness 800-1200 LM 3000-5000 LM 3-4x brighter
Lifespan ~500 hours 30,000-50,000 hours 60-100x longer
Power consumption 55W+ 20-30W ~45% less
Take the Toyota Levin as an example – after upgrading to LEDs, night visibility improves noticeably while power consumption drops by about 45%. For EVs and hybrids, this reduction in electrical load can indirectly extend driving range.
- Buying guide – what to look for
Certifications: prioritise products with ECE R112, DOT, or equivalent international approvals – they meet safety and compliance standards.
Colour temperature: 5500K-6500K cool white is close to daylight, offering both brightness and visual comfort. 5400K works well for daily driving, while 6000K suits urban and highway use.
Brands: international names like Philips and Osram offer consistent quality; domestic brands like Jiujiayi and KUS give better value for money.
Specific models: the KUS Kyubi series uses dual‑beam technology to boost light utilisation by 30%; the Huaxia series achieves compact sizing and better compatibility through optimised optical design; the Guangshen H50 balances high brightness with reduced glare.
- Installation and compatibility
DIY or professional: simple plug‑and‑play swaps can be DIYed. For bi‑xenon (bi‑LED) projector assemblies, professional installation is strongly recommended to get the beam pattern right.
Bi‑LED projector assemblies: typically 800-1500 CNY per pair. They give a wide, even low‑beam spread and extended high‑beam reach. For example, the KUS GT8 Quad PRO uses zone‑independent cooling for sustained high output; the Moying M12 matrix module uses spherical‑head elliptical chips for clean, uniform light.
Vehicle compatibility: ensure the LED wattage matches your car’s electrical system. A mainstream 30W LED draws only half the power of a halogen, significantly reducing electrical load and avoiding errors.
- Impact on energy consumption and range
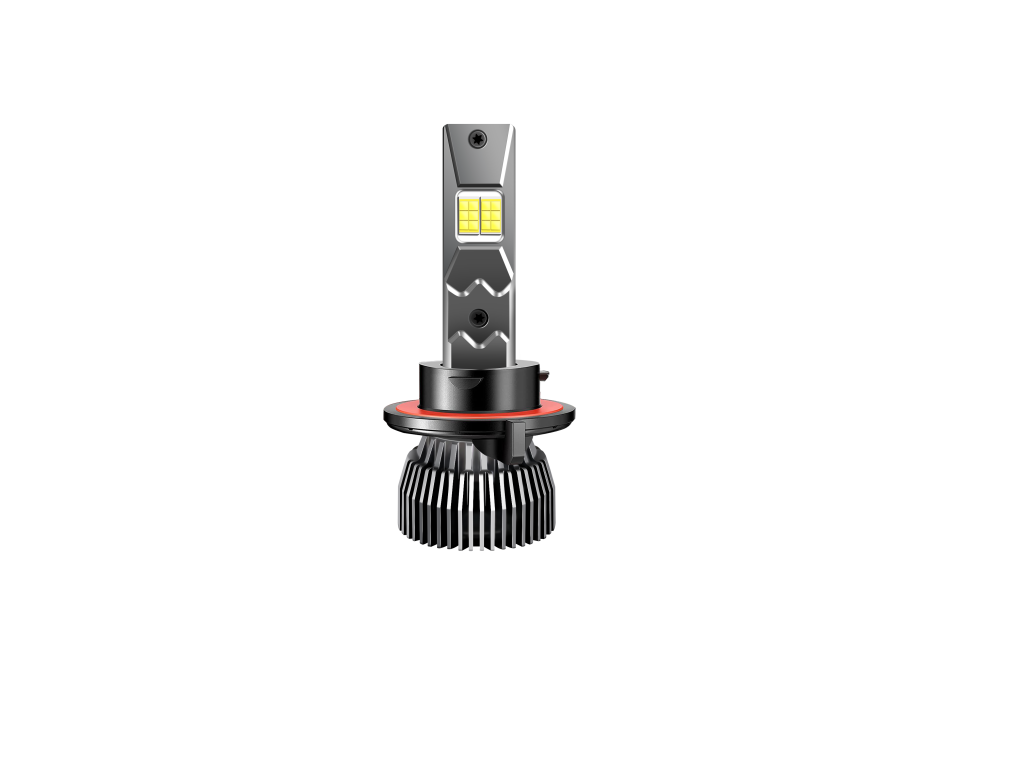
Petrol/diesel cars: reduces alternator load, which can slightly improve fuel efficiency.
EVs and hybrids: saves about 0.025 kWh per hour of use. At 2 hours per day, that’s roughly 1.5 kWh per month – a small but meaningful contribution to range.
Caution: cheap, uncertified products or poor installation can cause abnormal power draw – so choose properly rated LEDs and have them fitted by a professional.
- Step‑by‑step replacement guide
Preparation: confirm the correct bulb type (check your owner’s manual or the old bulb’s base marking). Gather the new bulbs, gloves, and alcohol wipes. Wear gloves to avoid touching the glass surface with bare fingers.
Disconnect power: disconnecting the battery negative terminal isn’t strictly necessary but adds a safety margin against short circuits.
Remove the dust cover: open the bonnet and locate the dust cover at the rear of the headlight housing. Depending on your car, twist it counter‑clockwise or pull it straight out.
Remove the old bulb: gently unplug the power connector (some cars need a clip or spring release first). Remove the waterproof seal, release the retaining spring or clip, and carefully pull the old bulb straight out – don’t yank the wiring.
Install the new LED: clean the socket area with an alcohol wipe. Align the new bulb with the socket slot (pay attention to chip orientation), push it in until it seats properly, then re‑engage the spring/clip. Plug the power connector back in, refit the waterproof seal and dust cover – make sure the edges seal tightly.
Test the lights: start the car and turn on the headlights. Check that they light up without flickering or misalignment. If needed, aim the beam using the headlight’s adjustment screws (some models require a special tool).
- Critical cautions
Never touch the glass: skin oil leaves residues that cause hot spots, shortening bulb life or even causing cracking.
Match specifications: the new bulb’s wattage and connector type must match the original – mismatches can overload the circuit or cause inspection failures.
Seal properly: an incorrectly fitted cover lets moisture in, potentially damaging the entire headlight unit.
Work cool: always work on a cold engine to avoid burns. If the job requires removing the bumper or other major parts, leave it to a professional.