As a car ages, its components naturally wear out. The LED headlights – a critical safety feature – are no exception. They need periodic inspection and, when the time comes, replacement. Can you do this job yourself? Absolutely – if you follow the right steps, it’s straightforward. Here’s a detailed walkthrough.
Before you start: make sure the engine is off and the engine bay has cooled down completely. Pop the bonnet, and put on a pair of protective gloves – they’ll shield your hands from heat and give you a better grip.
Step 1 – Remove the headlight housing cover
Unplug the power connector from the back of the housing, then unfasten the retaining spring clip to release the bulb holder.
Step 2 – Take out the old halogen bulb
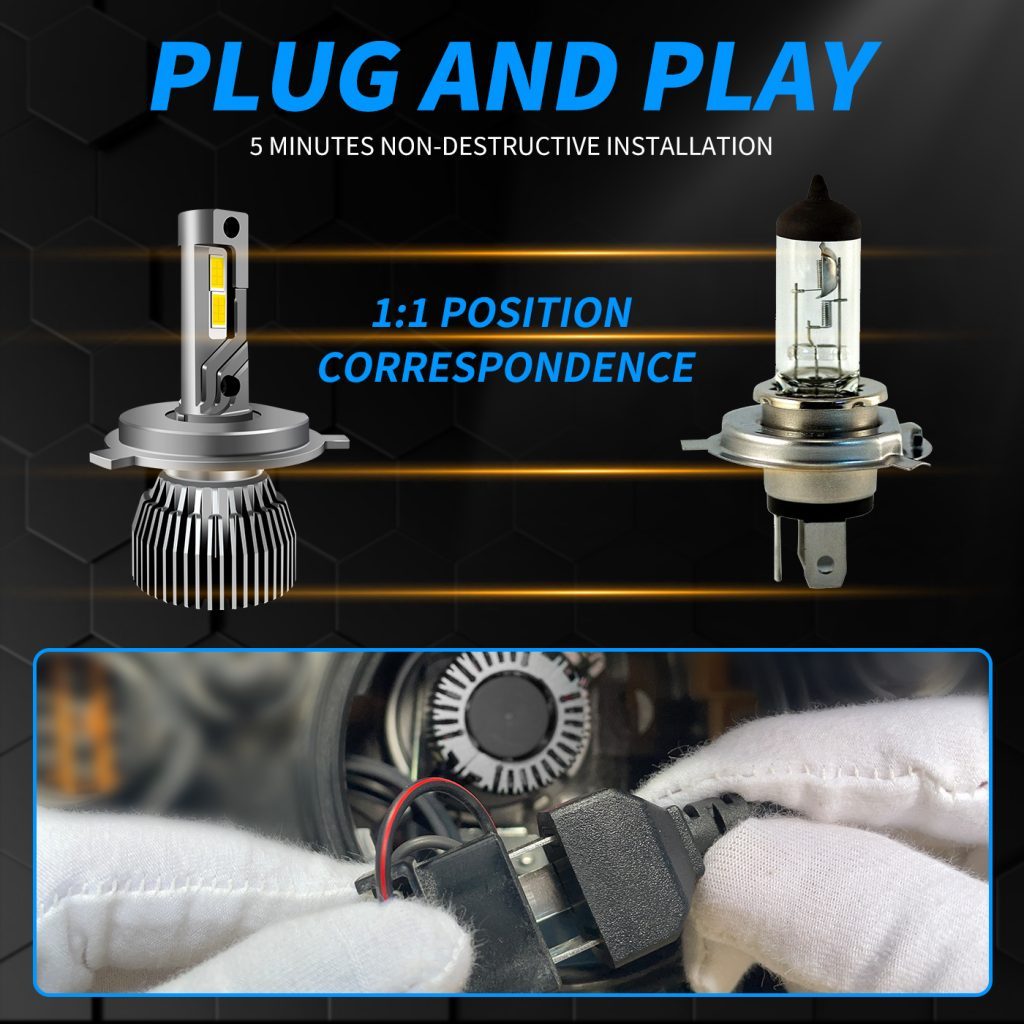
Gently pull the halogen bulb out of its socket. Be careful not to damage any nearby components. Pay attention to the white rotating stem on the bulb base – it controls the bulb’s locking and orientation, and you’ll need to understand it when fitting the new LED.
Step 3 – Detach the LED holder (if present)
If there’s an existing LED adapter holder, carefully remove it. Don’t force it – you don’t want to bend or break the holder.
Step 4 – Fit the new LED holder
Align the new LED holder with the socket slot and press it in firmly until it sits securely.
Step 5 – Re‑engage the spring clip
Push the spring clip back into place, making sure it locks the holder down tight.
Step 6 – Insert the LED bulb body
Carefully slide the LED unit into the holder, then rotate it clockwise until it clicks into place and feels solid.
Step 7 – Connect the power
First, plug the power connector into the LED bulb body, then connect it to the headlight housing’s power inlet. Make sure the contacts are clean and the connection is snug.
Final check: before closing everything up, turn on the lights briefly to confirm they illuminate correctly and the beam pattern looks reasonable. Once satisfied, tidy the wiring and refit the dust cover.
(Note: the original text ended here; if there’s more, feel free to share.)