Improper installation is one of the top causes of scattered light, fault codes, water fogging and shortened LED service life. Whether you install it yourself or hire a technician, follow these standardized installation guidelines.
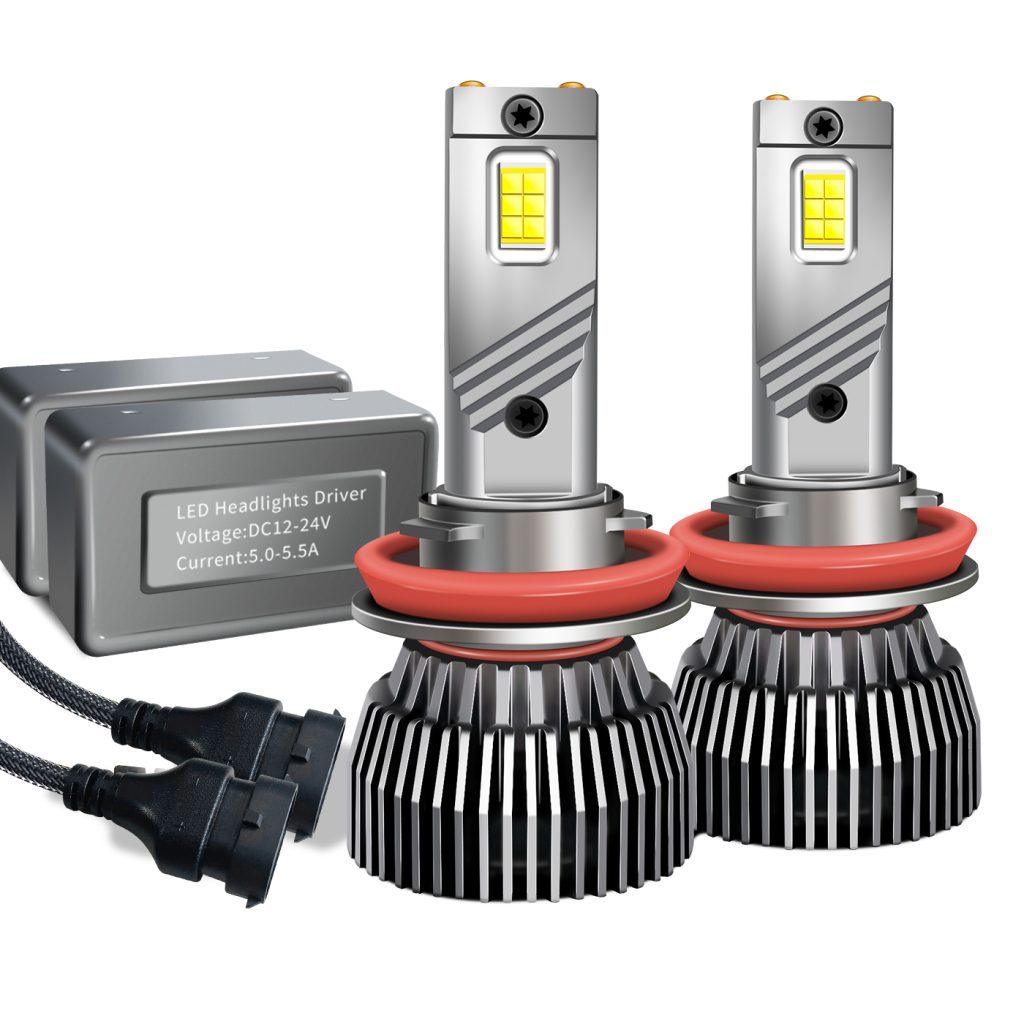
- Pre-Installation Preparation
Confirm the bulb model matches your vehicle (H1/H4/H7/H11/9005/9006 etc.). Check if the lamp housing has enough internal space for cooling fans and heat sinks to avoid collision with the dust cover.
Test the LED bulb on the vehicle socket before fully fitting it. Verify lighting status, flickering and dashboard fault alerts.
Prepare necessary tools: screwdriver, clean dry cloth, anti-static gloves. Do not touch the LED chip surface directly with fingers — oil stains will cause local overheating and luminous decay.
Check the original lamp cavity: remove dust, water vapor and residual debris. If water condensation often occurs inside the headlight, solve the sealing problem first. - Installation Operation Key Points
Correctly position the luminous chip
For reflector halogen housings with no lens: rotate and adjust the LED bulb to ensure the chip aligns horizontally, matching the original halogen filament focal point. Incorrect rotation directly leads to scattered light and glare.
Reserve ventilation space for heat dissipation components
After inserting the bulb, ensure the fan, heat pipe and aluminum radiator are not squeezed by the dust cover. Blocked heat dissipation will cause rapid temperature rise and fast light decay. If the dust cover cannot be closed normally, use a breathable modified dust cover.
Stable plug connection
Fully insert the plug and lock the buckle. Loose connectors will cause poor contact, intermittent lighting and overheating of the plug. Do not force wiring; keep all installation non-destructive without cutting or twisting factory cables.
Arrange the CANBUS decoder reasonably
Fix the decoder away from high-temperature parts such as the engine and exhaust pipe. Secure it with cable ties to prevent vibration friction damage. Avoid placing the decoder inside the sealed lamp cavity. - Sealing & Waterproofing
Reinstall the original rubber dust cover tightly. If the radiator occupies space and prevents normal closing, use a breathable silicone dust cover.
Check the rubber sealing ring at the bulb base; ensure it fits tightly to stop rainwater and humid air from entering the lamp housing. Water vapor inside will fog the lens and corrode the LED driver.
Do not discard the original sealing gasket arbitrarily; missing gaskets easily cause water ingress. - Post-Installation Light Adjustment (Extremely Important)
Park the vehicle on flat ground, 5–10 meters facing a smooth white wall.
Turn on low beams and adjust the headlight height screw. The cutoff line of low beams must be horizontal and cannot rise upward to avoid dazzling oncoming drivers.
Check left and right light symmetry. Uneven height will affect night vision and may cause inspection failure.
Test both low beam and high beam continuously for 10–15 minutes. Observe brightness stability, abnormal flickering and unusual fan noise. Touch the lamp housing slightly — obvious overheating means poor heat dissipation and needs rechecking. - Electrical Safety Notes
Disconnect the vehicle negative battery terminal before installation to avoid short circuits caused by accidental contact.
Do not arbitrarily add power wires or modify the original harness. Non-destructive plug-and-play installation is strongly recommended.
If the dashboard pops up a lamp fault warning after installation, confirm whether the LED has built-in CANBUS decoding; install an external load resistor if needed.
Stop using immediately if the plug, wire or lamp body becomes abnormally hot during the test run. - Common Pitfalls to Avoid
❌ Touch LED chips with bare hands
❌ Force the bulb into position without adjusting the chip angle, resulting in scattered light
❌ Squeeze heat dissipation components with the dust cover
❌ Leave loose plugs and messy decoder wiring near high-temperature engine parts
❌ Skip beam height adjustment after installation
❌ Use damaged aging sealing rings, leading to water fog inside the lamp - Reminder for Different Lamp Types
Reflector housing (no lens): Focus on chip horizontal alignment; prioritize 1:1 filament-positioned LED bulbs. If severe scattering still exists after installation, consider upgrading bi-LED projector assemblies.
Factory projector housing: The optical structure restrains light better, but beam height adjustment still cannot be omitted.
H4 / H13 integrated high-low beam bulbs: Confirm no interference between the cooling structure and the lamp housing during switching of high and low beams.
Quick Installation Checklist
✅ Test bulb lighting before full assembly
✅ Do not touch LED chips directly
✅ Adjust bulb rotation angle to align luminous source
✅ Ensure heat sink / fan is not squeezed by dust cover
✅ Plug firmly, fix decoder away from high-temperature areas
✅ Restore sealing gasket and dust cover well
✅ Adjust low-beam cutoff line against a wall 5–10m away
✅ Continuously light test for 10–15 minutes to check temperature and stability