Insufficient brightness of factory halogen headlights troubles numerous drivers. Upgrading halogen lamps to LED has become a popular retrofit option. However, the upgrade is far more than simply swapping bulbs. Ignoring optical matching, thermal management, ECU compatibility and legal standards will easily cause glare, inspection failure, rapid lumen depreciation and dashboard error codes. This guide covers all core points, pitfalls and selection standards for halogen-to-LED conversion.
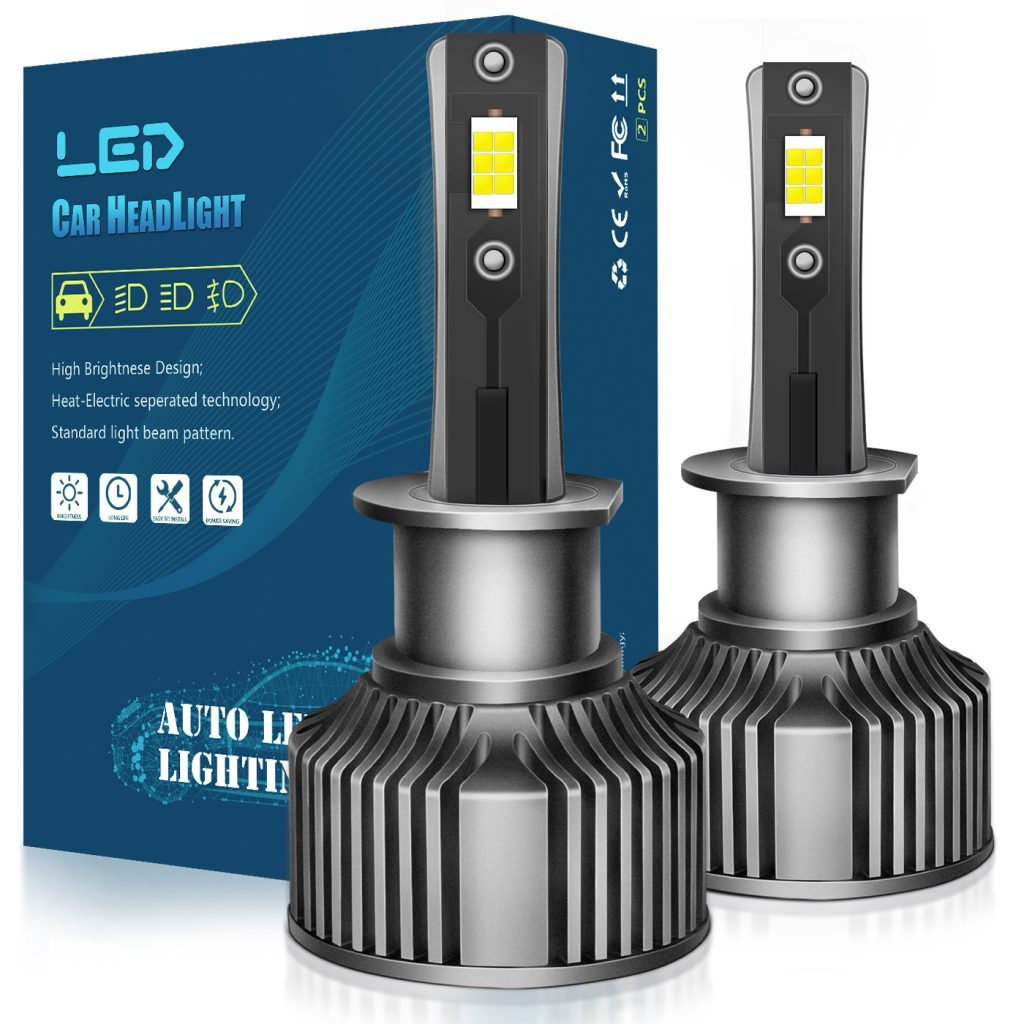
1. Legal Standards for Brightness & Color Temperature
Compliance with local traffic regulations comes first. Color temperature and illumination directly affect inspection results and safety on rainy or foggy days.
According to automotive lighting standards, headlight color temperature should not exceed 6000K. Products above 6500K emit bluish light, which creates a white-wall reflection effect in fog and rain, drastically shortening visible distance, and most inspection stations reject such lights.
✅ Recommended range: 4300K~5500K
5000K light resembles natural daylight and reduces eye strain during long night drives, balancing brightness and weather penetration. Avoid ultra-cool white LED above 6000K.
Brightness reminder: Vehicle inspections set minimum illumination values together with strict glare limits. Do not blindly chase marked lumen figures (many low-cost products use fake parameters). Always prioritize well-defined beam cutoff rather than nominal brightness.
2. Lens Matching — The Biggest Retrofit Mistake
Most drivers run into troubles for one simple reason: installing bare LED bulbs directly into factory halogen reflector housings.
Halogen reflectors and halogen lenses are designed specifically for tungsten filament position and light shape. LED chips sit at different focal points. Direct replacement scatters light upwards. The lights look bright inside the cabin yet fail to light up the road, blinding oncoming traffic and resulting in unsafe lighting.
Two solutions based on original headlight structure:
- Factory housing without built-in lens Direct bulb swap is not recommended. The optimal solution is to install dedicated bi-LED projector lenses. Integrated projectors reorganize light rays, create sharp cutoff lines, eliminate glare and widen illumination range to meet inspection photometric requirements. Domestic integrated LED projector kits cost roughly $260–$360.
- Factory halogen projector Halogen optical systems are calibrated for filaments. Even if LED bulbs physically fit, blurred cutoff lines and uneven light spots often occur. For best performance, upgrade to LED-specific projectors. If on a limited budget, select LED bulbs with chip positions precisely aligned to filament location and test beam pattern after installation.
3. LED Chip Orientation Determines Road Illumination
Most aftermarket LED bulbs adopt dual-side chip layout. Mounting angle directly shapes beam distribution and is often overlooked during installation.
Standard installation rule: Place LED chips horizontally (parallel to ground) following manufacturer specifications.
Consequences of wrong angle: Distorted low-beam cutoff, scattered high beam focus, uneven lighting nearby and reduced long-distance visibility.
Simple calibration method:
- Professional workshop: Use headlight tester to calibrate beam height and angle precisely.
- Self-installation test: Park 5 meters from a flat wall, check whether low-beam cutoff remains straight, and balance height between left and right headlights.
4. Cooling System Decides LED Lifespan & Light Decay
LED generates considerable heat during operation. High temperature is the main cause of chip aging and permanent brightness loss.
High-quality retrofit LED units use aluminum heat sinks plus silent cooling fans for active thermal dissipation, far more effective than passive fanless cooling, maintaining chip temperature within safe limits.
Shopping & installation tips:
- Measure internal lamp cavity space before purchase. Ensure heat sink and fan fit without forcing the rear dust cap closed; blocked airflow worsens overheating.
- Avoid cheap models with plastic heat structure or tiny aluminum strips; obvious brightness loss usually emerges after 1–2 months of frequent night use.
- Prefer integrated LED units where lamp body and cooling structure are manufactured as one piece for stable heat conduction.
5. CANBUS Decoding to Eliminate Dashboard Error Codes
European, American and many modern domestic vehicles use BCM body control modules to continuously monitor headlight current. LED draws less power than halogen. The ECU detects lower current and mistakes the bulb as broken, triggering warning lights or intermittent flickering.
Two mainstream decoding options:
- Built-in decoder chip: Integrated inside LED driver, easy installation and suitable for most passenger vehicles.
- External independent load decoder: Higher compatibility for older Jeep, Volkswagen and other models with strict current detection.
Provide accurate vehicle make, model and production year before purchasing to confirm decoder compatibility.
6. Retrofit Plan Comparison & Professional Installation Advice
Three common upgrade solutions vary greatly in budget, lighting effect and compliance:
| Upgrade Solution | Price Range | Performance & Risks |
|---|---|---|
| Direct LED bulb replacement | $60–$90 | Low upfront cost; high risk of scattered light in reflector housings and inspection failure. Only suggested for cars with original projector lenses. |
| Domestic integrated bi-LED projector kit | $260–$360 | Best value for most drivers. Neat beam pattern, controlled glare, meets inspection standards, the most popular option for family vehicles. |
| Premium imported projector set | $650–$800 | Top-tier performance with heavy price premium; limited extra benefit for daily city and highway commuting. |
Services a professional installer should complete:
- Check original wiring condition and identify aging risks before modification;
- Lens positioning calibration and beam height adjustment;
- Waterproof sealing around lamp housing to stop fogging inside headlights;
- Decoder debugging, clear fault codes and test low/high beam switching.
7. Final Checklist for Successful LED Upgrade
Follow these rules to achieve stable lighting, safe driving and smooth vehicle inspection:
- Choose color temperature between 4300K–5500K; avoid units exceeding 6000K;
- Do not install bare LED bulbs into halogen reflector housings; add dedicated projectors if there is no factory lens;
- Mount LED bulbs at correct chip angle and calibrate beam pattern after installation;
- Prioritize products with active cooling fans to slow lumen depreciation;
- Select CANBUS-ready LED bulbs matching your vehicle model to avoid warning lights and flickering.
Proper halogen-to-LED upgrades maintain steady brightness for 3–5 years. Confirm local inspection regulations and factory headlight structure before purchase. Stay away from low-grade cheap products to prevent glare, wiring overheating and other road hazards.