Getting the installation right is the key to unlocking the full potential of LED headlights – and avoiding common problems like scatter and glare. Here’s a full step‑by‑step walkthrough.
- Preparation before you start
A little prep goes a long way.
Make sure the engine is off and the key is removed from the ignition – this prevents any electrical short circuits while you’re working.
Gather your tools: a cross‑head screwdriver, insulating tape, gloves, and your new LED bulbs.
Double‑check that the new LEDs match your car’s bulb type – if the type is wrong, even the best bulb won’t work.
Wearing gloves is a good idea – it keeps skin oils off the LED chips, which helps with cooling and longevity.
- Detailed installation steps
Step 1 – Remove the old bulb
Find the dust cover at the back of the headlight and take it off. Unplug the power connector from the original bulb. Use a screwdriver to loosen any retaining screws if present, then release the spring clip that holds the halogen bulb in place. Gently pull the old bulb out – don’t yank the wiring.
Step 2 – Fit the new LED bulb’s holder
Take the new LED holder/adapter, align it with the socket slot, then squeeze the wire spring clip and push it inward until the holder is locked firmly in place.
Step 3 – Insert the LED bulb body
Carefully insert the LED bulb into the housing. Critical point: LEDs emit light from two sides – the chips are on the left and right. The bulb must be installed horizontally – chips at 3 o’clock and 9 o’clock, never tilted up and down. Also make sure the cable hangs straight down so it connects cleanly.
Step 4 – Connect the power
Plug the LED bulb‘s power cable into the corresponding socket – and pay attention to polarity. If you reverse the positive and negative, the light won’t turn on. Once connected, do a quick power‑on test to confirm it lights up.
Step 5 – Aim and fine‑tune (crucial)
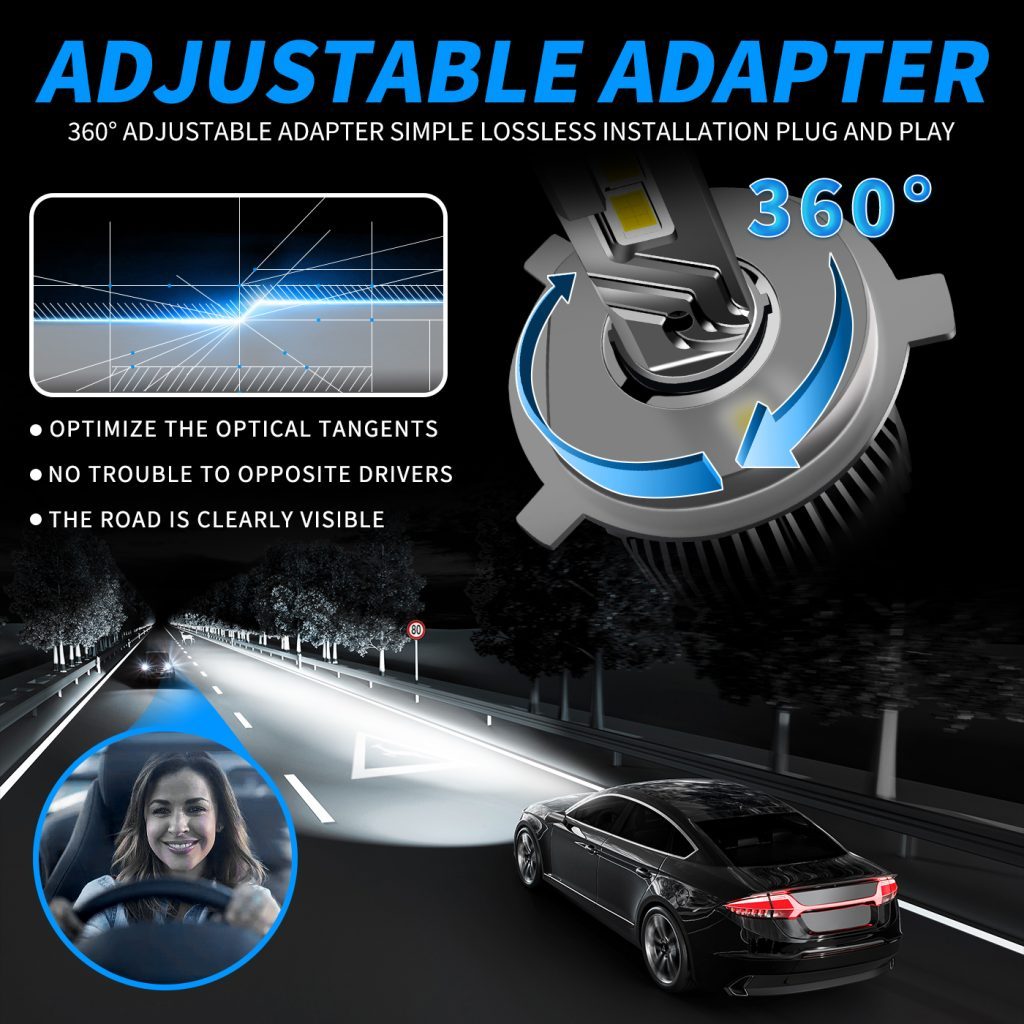
After installation, the beam will almost certainly need fine‑tuning. Start by gently rotating the bulb in its socket to see if you get a better pattern. If the cut‑off line isn’t level, adjust it manually until the low‑beam step line appears sharp and horizontal.
Important: even if the chips are perfectly horizontal, the projected cut‑off may not be perfectly level – this depends on how well the bulb matches your car’s reflector or lens. At this point, use the headlight’s adjustment screws (the same ones used for halogen bulbs) to dial it in. Different cars have different lens designs, so adjustments will vary.
Step 6 – Finish up
Once everything looks good, refit the dust cover and waterproof cap, tidy the wiring and secure it so that it won’t come loose from road vibration.
- Post‑installation checks
Power test: confirm both low and high beams work without flickering.
Beam‑pattern check: park facing a wall at night and check the low‑beam cut‑off – it should be straight, not slanted, and the high beam should be reasonably focused.
Angle check: make sure the beam isn’t aimed too high (which dazzles others) or too low (which leaves you blind ahead).
Error codes: if the dashboard throws a warning, you may need a decoder.
If anything seems off, re‑check the wiring or consult a professional.