Many car owners only focus on brightness when upgrading LED headlights and end up encountering scattered light, dashboard error codes, rapid luminous decay or failed vehicle inspections. Choosing proper LED bulbs is a systematic process. Follow this step-by-step guide to pick the ideal set matching your car and driving habits.
Step 1: Confirm the Exact Bulb Base Model (First Priority)
Check your vehicle owner’s manual or remove the original bulb to confirm the socket specification.
Common models: H1, H3, H4, H7, H11, H13, 9005(HB3), 9006(HB4), 9012 etc.
H4 / H13: High-low beam integrated single bulb
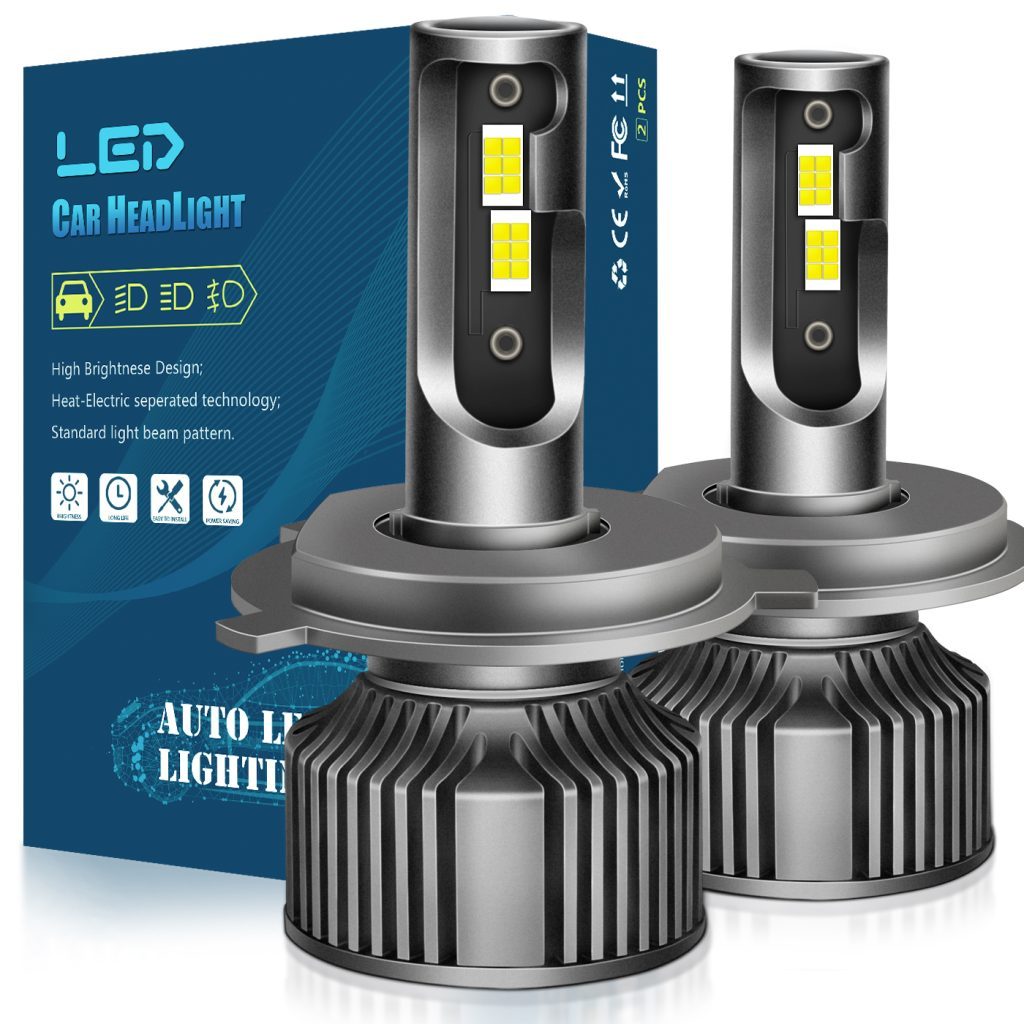
H7 / H11 / 9005: Separate low beam or high beam
⚠️ Important reminder:
Even with the correct base, some compact lamp housings have limited internal space. Large cooling fans or heat sinks may clash with the dust cover. Pre-check internal space before purchasing.
Step 2: Distinguish Projector Housing vs Reflector Housing
This determines whether you need 1:1 filament positioning LED bulbs.
Reflector housing (original halogen bowl without lens)
Must select bulbs designed with 1:1 filament replication. If the LED chip cannot align with the halogen focal point, light will scatter severely, causing glare and inspection failure.
Factory projector housing
Optical performance is more stable. Selection flexibility is higher, but still avoid ultra-high-power bulbs with poor heat dissipation.
Step 3: Select Reasonable Power & Lumen Value — Do Not Chase Maximum Brightness
Recommended steady-state power for daily family cars: 30W–40W per bulb
Corresponding practical lumen range: 3000–4500 lumens
Urban driving: 3000–3800 lm, sufficient without excessive glare
Highway & rural unlit roads: 3800–4500 lm
❌ Avoid 80W / 100W ultra-high-power products:
Most suffer from severe power false labeling. True high power overloads original wiring, generates excessive heat and accelerates harness aging.
Step 4: Choose Proper Color Temperature
4300K–5000K: Warm neutral white. Balanced brightness and rain/fog penetration, all-weather preferred option
5000K–6000K: Pure cool white. Clear vision on clear nights, moderate penetration
>6000K: Bluish white light. Poor performance in rain and fog; many regions fail inspection for excessive color temperature
Step 5: Heat Dissipation Structure — Decides Long-Term Lifespan
LED chip lifespan heavily relies on thermal control. Prioritize these solutions in order:
Aviation aluminum body + copper heat pipe + silent cooling fan (best for long-distance night driving)
Aviation aluminum + woven copper belt passive cooling (suitable for short urban trips)
Avoid fully sealed low-cost bulbs with zero heat dissipation design; they suffer obvious luminous decay within several months.
Step 6: Check CANBUS Circuit Compatibility
Modern vehicles equipped with BCM / CANBUS systems monitor bulb current. Low-power LEDs may trigger:
Dashboard bulb failure warning
Light flickering
Solutions:
Select LED bulbs with built-in CANBUS decoder. Premium European vehicles (BMW, Mercedes, Audi) often require enhanced decoding. Confirm compatibility with your car model before purchase.
Step 7: Chip Quality & Optical Design
Prefer automotive-grade CSP chips (Philips, Osram certified chips deliver stable light efficiency)
Do not judge performance by chip quantity; focus on whether the luminous surface matches halogen filament size
Qualified bulbs produce a sharp, horizontal low-beam cutoff line with no upward stray light
Step 8: Match LED Upgrades to Your Driving Scenarios
表格
Driving Scenario Recommended Configuration
Urban daily commute, occasional night travel 30–35W, 4300K–5500K, 1:1 filament positioning, built-in decoder
Frequent highway, mountain & rural night driving 35–40W, 5000K–6000K, active fan cooling
Regions with frequent rain, fog and haze 4300K–5000K neutral white; avoid color temperature above 6000K
Old vehicles over 15 years Stick to 30W low-power LED; inspect wiring insulation before installation
Step 9: Installation & Compliance Reminders
Choose plug-and-play non-destructive installation; do not cut or splice original factory wiring
After installation, calibrate headlight height: park 5–10 meters from a wall to adjust the low-beam cutoff line
For reflector lamp assemblies, if scattered light cannot be improved after bulb replacement, install dedicated projector lens assemblies for legal, safe lighting
Final Quick Selection Checklist
✅ Confirm accurate bulb base model
✅ Check whether your housing is reflector or projector
✅ Actual power 30–40W, steady-state lumens 3000–4500
✅ Color temperature 4300K–6000K
✅ Reliable heat dissipation (aluminum + heat pipe + fan preferred)
✅ Built-in CANBUS decoder if required by vehicle
✅ 1:1 filament positioning for reflector halogen housings
✅ Avoid ultra-high-power cheap generic bulbs with false parameter labeling