With automotive lighting technology evolving fast, LED headlights have taken over from old‑school halogen and xenon units, thanks to their energy savings, durability, and superior brightness. Whether fitted as factory standard on new cars or added as an aftermarket upgrade, they are now the go‑to choice for the vast majority of drivers. Many owners buy LED bulbs from physical stores or online retailers and fit them themselves, hoping for better night vision and safer driving. But once installed, they often run into problems: scattered beams, uneven patches of light on the road, or beams aimed so high they shine straight into oncoming drivers’ eyes. Not only does that leave you with poor visibility and extra eye strain, but it also endangers other road users—and in severe cases, the car will fail its mandatory annual headlight test.
The root cause of most of these lighting issues isn’t a defective product—it’s improper installation or failure to calibrate the beam height and angle correctly. To help you avoid a trip to the garage and get the job done at home, we’ve put together this complete, step‑by‑step, beginner‑friendly guide to adjusting LED headlights. It draws on years of hands‑on repair experience and professional optical alignment standards. We’ll cover installation pitfalls, common fault fixes, and show you exactly how to achieve a sharp cut‑off, an even beam pattern, and a setup that won’t dazzle other drivers—so your nightly journeys become both worry‑free and safe.
- Before You Adjust: Preparation and Standard Measurements
To get a compliant alignment, you can’t skip the prep work—site selection, vehicle condition, and dimension marking all matter. If you try to adjust on uneven ground, the final beam pattern will be off.
Site and vehicle basics
Park the car on a completely flat concrete surface. Check tyre pressures and inflate to the figures on the vehicle placard. Keep the car’s load close to your normal daily driving state—don’t empty it completely or pile in heavy cargo, as that tilts the body and shifts the reference points. Face the front of the car towards a clean, flat white wall, and set the distance from the headlight to the wall at exactly 7.6 metres—this is the internationally recognised reference distance that gives the most accurate results.
Pre‑adjustment settings
Turn on the ignition and set the in‑car headlight leveling dial to the “0” position—this is the factory baseline. Clear any objects from the front of the car that might block the light output.
Marking reference lines on the wall
Switch on the low beam, grab a tape measure, and note three key measurements. Use masking tape to mark horizontal and vertical lines on the wall:
① Horizontal distance from the centre of the low‑beam light source to the vehicle centreline (A).
② Horizontal distance from the centre of the high‑beam light source to the vehicle centreline (B).
③ Vertical height from the centre of the low‑beam light source to the ground (C).
These three figures define the area where the beam pattern should fall. All subsequent up/down and left/right adjustments are judged against these marked lines, preventing the beam from ending up too high or too far to one side.
- Critical Installation Steps – One Mistake and You Get Scatter
The final result depends 70% on proper installation and only 30% on fine‑tuning. Many owners skip these details, and even after endless tweaking of the adjustment screws, the beam remains messy—this is the most common trap.
Turn off the engine and remove the key, let the headlight housing cool completely, then open the bonnet. Find the rubber dust cover at the rear of the headlight, twist it off clockwise. Gently unplug the original halogen bulb connector, release the metal spring clip, and pull out the old bulb—do not yank the wiring.
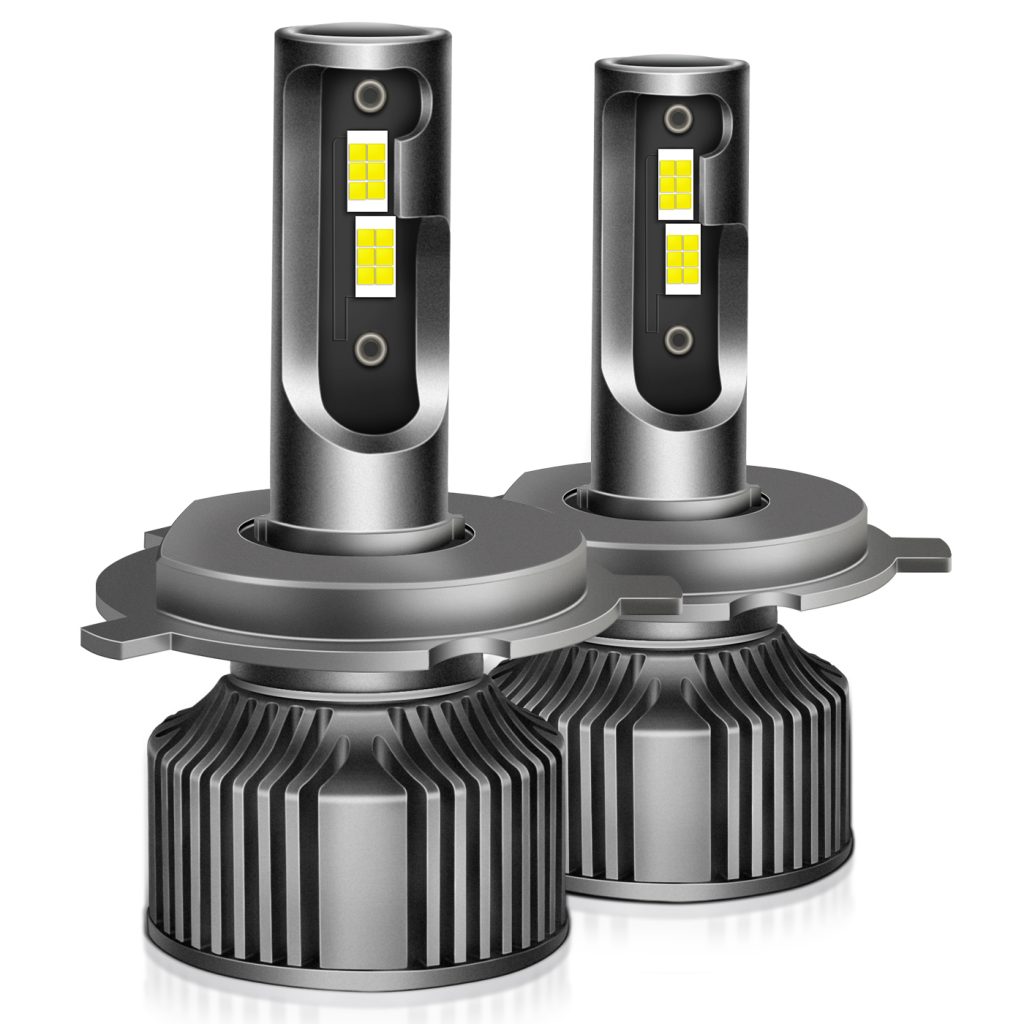
Take your new LED kit, separate the bulb body from the metal holder, snap the holder securely into the headlight socket, then twist the LED body into the holder until it locks.
Crucial detail: the CSP light‑emitting chips inside the LED must be positioned strictly horizontally—one chip on the left, one on the right, perfectly aligned. They must never be tilted one above the other. If the chip orientation is skewed, the focal point shifts away from the reflector’s centre, and no amount of screw‑turning will fix the scattered beam or distorted cut‑off line.
Once the unit is fixed, re‑engage the spring clip, plug in the power connector firmly, check for any loose contacts, and finally seal the dust cover properly to keep out moisture and dirt that could cause shorts or premature dimming.
- Step‑by‑Step Beam Adjustment
After installation, turn the lights on briefly to check the beam pattern on the wall, then make fine adjustments in two stages: height and lateral position.
Step 1 – Verify chip level
If the cut‑off line on the wall appears slanted, the internal chips are not horizontal—you’ll need to reopen the cover, rotate the bulb body, and re‑adjust until the low‑beam cut‑off becomes a straight horizontal line.
Step 2 – Fine‑tune the adjustment mechanisms
Each headlight has two adjustment screws on the back—one for height, one for side‑to‑side movement (some compact sedans have only height adjustment, with lateral fixed from the factory). Turn the screws slowly while watching the beam position on the wall. Align the low‑beam cut‑off with your previously marked horizontal reference line, ensuring the beam does not rise above that line.
If your car has an electric leveling dial inside, you can use it for fine‑tuning: turning the dial upward raises the beam for longer high‑beam reach on unlit country roads; turning it downward lowers the beam to reduce glare in city traffic. For daily urban commuting, keep the dial between 0 and 1.
- Common Problems After Retrofitting + Advanced Solutions
Many owners report fuzzy beams, poor road coverage, or blinding glare. You can tackle these issues with a three‑step approach: basic calibration → component upgrade → regular maintenance.
Scattered beam / messy cut‑off
First, re‑check the bulb installation angle—make sure the chips are level. Then reset the car at the 7.6‑metre standard distance and re‑adjust the screws. If the scatter persists, the LED’s focal point doesn’t match your reflector. In that case, switch to a vehicle‑specific LED model, which replicates the filament position of the original halogen bulb for better focus.
Insufficient brightness / poor night vision
After ruling out installation and alignment issues, the culprit is often the wrong colour temperature choice—many drivers blindly go for ultra‑cool white without considering real‑world effect.
Colour temperature (measured in Kelvin) indicates the tone: lower numbers give warm yellowish light, higher numbers give cool bluish light.
4300K–5000K (warm white): balances brightness and fog/rain penetration—best for wet, foggy, or snowy regions.
6000K (cool white): looks brighter on dry roads but scatters badly in heavy rain or fog, turning into a white wall that obscures markings.
6500K and above (bluish): poor penetration and not recommended for daily use. Pick the temperature that suits your local climate to improve clarity.
Rapid dimming / brightness drop
Periodically remove the dust cover and check the seal’s integrity to prevent moisture ingress that oxidises the chips. Clean the outside of the lens and the reflector inside every six months—dust buildup cuts reflection efficiency significantly. Also, check that the LED cooling fan spins freely; a failed fan leads to fast degradation.
- Summary
The true performance of LED headlights hinges entirely on proper installation and precise calibration. A single sloppy step can seriously undermine safety. During installation, pay strict attention to the horizontal chip orientation—that stops scatter at the source. During calibration, use the standard 7.6‑metre wall‑measurement method to dial in the correct height and lateral position, balancing your own view with other drivers’ comfort. For ongoing use, select the right colour temperature for your area and regularly maintain the housing and heat‑sink system to keep the output stable and strong.
The whole process requires no special tools and is easy enough for any owner to follow without paying a garage for labour. A well‑adjusted LED setup delivers the full benefits of high efficiency and long life—giving you a clean, soft beam that illuminates the road ahead clearly, expands your night‑time field of view, and never dazzles oncoming traffic. It’s a win‑win for comfort and safety, making every night drive smoother and more reassuring.